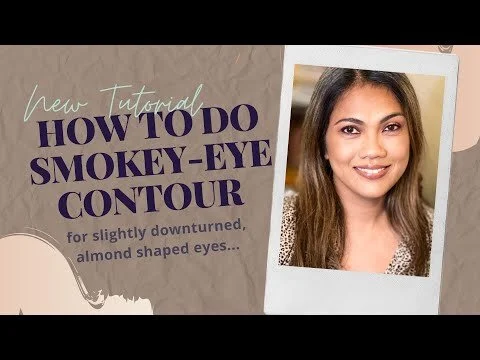
Smokey-Eye Contour
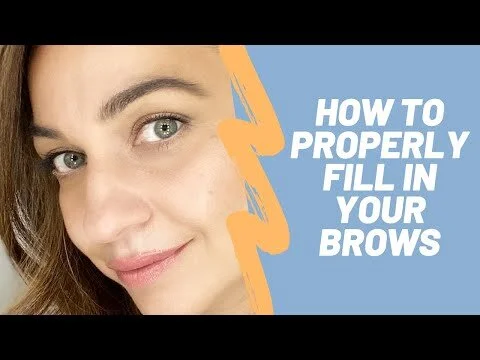
How to fill in your brows
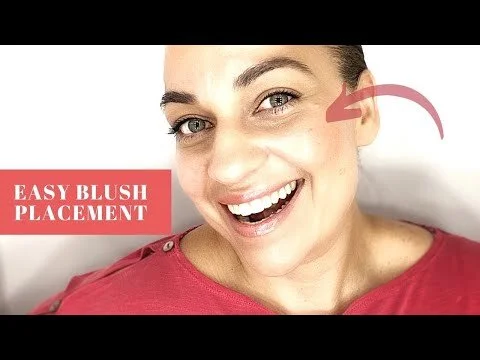
Easy Blush Placement Tutorial
The MUST-KNOW Secret to Concealing Age Spots
Makeup for every eye color

Sanitizing your makeup pencils.
Smokey-Eye ContourIf you're struggling to get your smokey-eyes to look sexy and glamourous, it might be because you're getting the placement wrong.You may have tried following other smokey-eye tutorial only to end up with panda eyes. The most common reason for this is because your eyeshade is different from the model being made up. So to help you perfect your smokey-eye, I've designed a series of smokey-eye tutorials for as many different eyeshapes I can put makeup on.In this tutorial, I demonstrate how to do a smokey-eye contour for slightly downturned, almond shaped eyes. I explain placement for this particular eye-shape, and give you tips on how to give more dimension to the overall eyeshade using shimmer eyeshadows to catch the light. I also give you some helpful budge-proof tips to keep your eyeshadow looking fresh all day.Below is a list of products I used to create this look.Products used:-Cream eye-shadows: Danessa Myricks Color Fix Cream(Colors in Chocolate and Nude 05)-Powder eye-shadows: Viseart Eyeshadow Palette in Warm Nuetrals, Grand Palette 1 and 2)-Eye-Pencil: ESUM Plum Eye-pencil-Mascara: SENNA Cosmetics Mascara-Liquid Liner: Beauty Counter Precision Liquid Liner
How to fill in your browsThis tutorial shows you how to achieve beautiful, full, natural looking brows by using the right tools and technique.
Easy Blush Placement TutorialThis tutorial teaches you to achieve the perfect blush placement every time.
The MUST-KNOW Secret to Concealing Age SpotsDoes your age-spot peek through your foundation?Have you noticed that you have to apply more concealer to cover dark spots and pigmentation?Does you routine look like this...You conceal your pigmentation, but you can still see it under your foundation. So you apply more concealer to that area. By the end of your makeup application, that concealed spot looks different than the rest of your skin. It's obvious that you're trying to cover something. So rather than concealing your spot, you end up bring more attention to it. This is a very common issue for most women. But here's the good news. You don't need to accept this 'patchy skin fate' or give up your flawless skin goal.You can achieve that natural, flawless skin. It's about knowing the rules and how to apply it to your skin.In this tutorial I’ve introduced the rule of color correction. This theory of color correction can be quite complex which might take a bit of time to understand. But with a little more instruction and a lot of practice, you will get the hang of it.Please don’t feel bad if you have more questions after watching this video. Send me your questions either in the comments below or privately. I will answer them to my best ability. The reason for using color correction is to use less product on your face, so your skin looks natural and not made up.Subscribe to my channel for more in-depth makeup secrets for your best face ever.
Makeup for every eye colorTry this monochromatic coral peach makeup to suit every eye color. This is an easy to follow tutorial.
Sanitizing your makeup pencils.This is a quick tutorial on how to sanitize your makeup pencils to stop the spread of germs and bacteria.
info
/
1
2
3
4
5
6
·
·
·
·
·
·